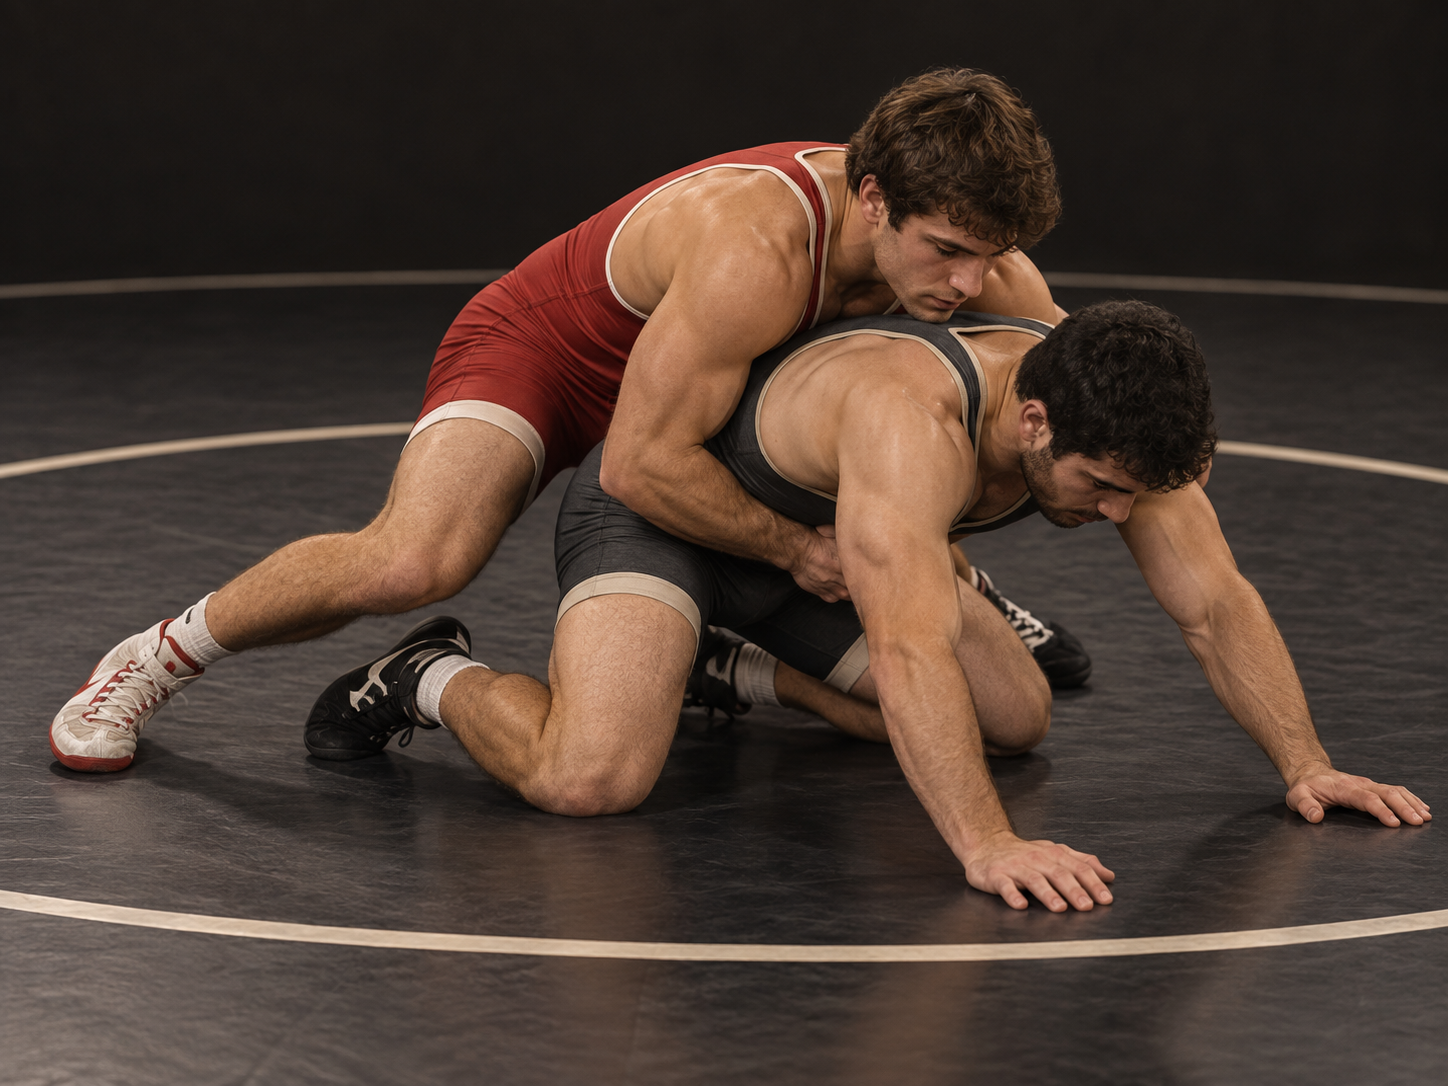
 ▶ Open related demonstration

How to practice riding pressure
Start with a cooperative partner on a wrestling mat. Have a coach check the starting position and contact before adding resistance. These notes describe one introductory approach; the linked demonstration may show a variation.
Partner role
The bottom partner makes deliberate changes of direction and small base-building movements. Avoid explosive rolls during the learning drill so the rider can feel how footwork preserves the connection.
- 1
Begin in the top position your coach sets, with a legal waist-and-arm connection. Keep your knees and feet available to follow rather than settling all your weight onto one point.
- 2
Place your chest connection over the opponent’s upper back while keeping your own hips supported. Pressure should influence their base without loading the neck.
- 3
As the bottom wrestler moves, follow with your feet and hips. Keep contact with the near side so an escape does not open simply because you reached with your arms.
- 4
Use the movement to set up a breakdown or return. If the partner gets to the feet, switch to a coach-taught return rather than clinging to an awkward position.
Common mistakes and corrections
Sitting directly behind the hips can make the rider easy to shake off. Maintain an angle and active feet.
Heavy pressure without balance fails when the bottom wrestler changes direction. Follow before adding force.
Take it to the mat
A focused practice drill
Use three 20-second follow-the-hips rounds. The bottom wrestler moves slowly without explosive escapes; the top wrestler maintains position without a turn.
Before adding resistance
Can you follow a change of direction without posting both hands on the mat?
WOTM teaching notes and sequence diagram. Lesson artwork is AI-generated with OpenAI’s built-in image generation tool; it is an illustrative cover rather than a technical diagram. Demonstration links lead to their original publishers. WOTM is not affiliated with or endorsed by USA Wrestling.