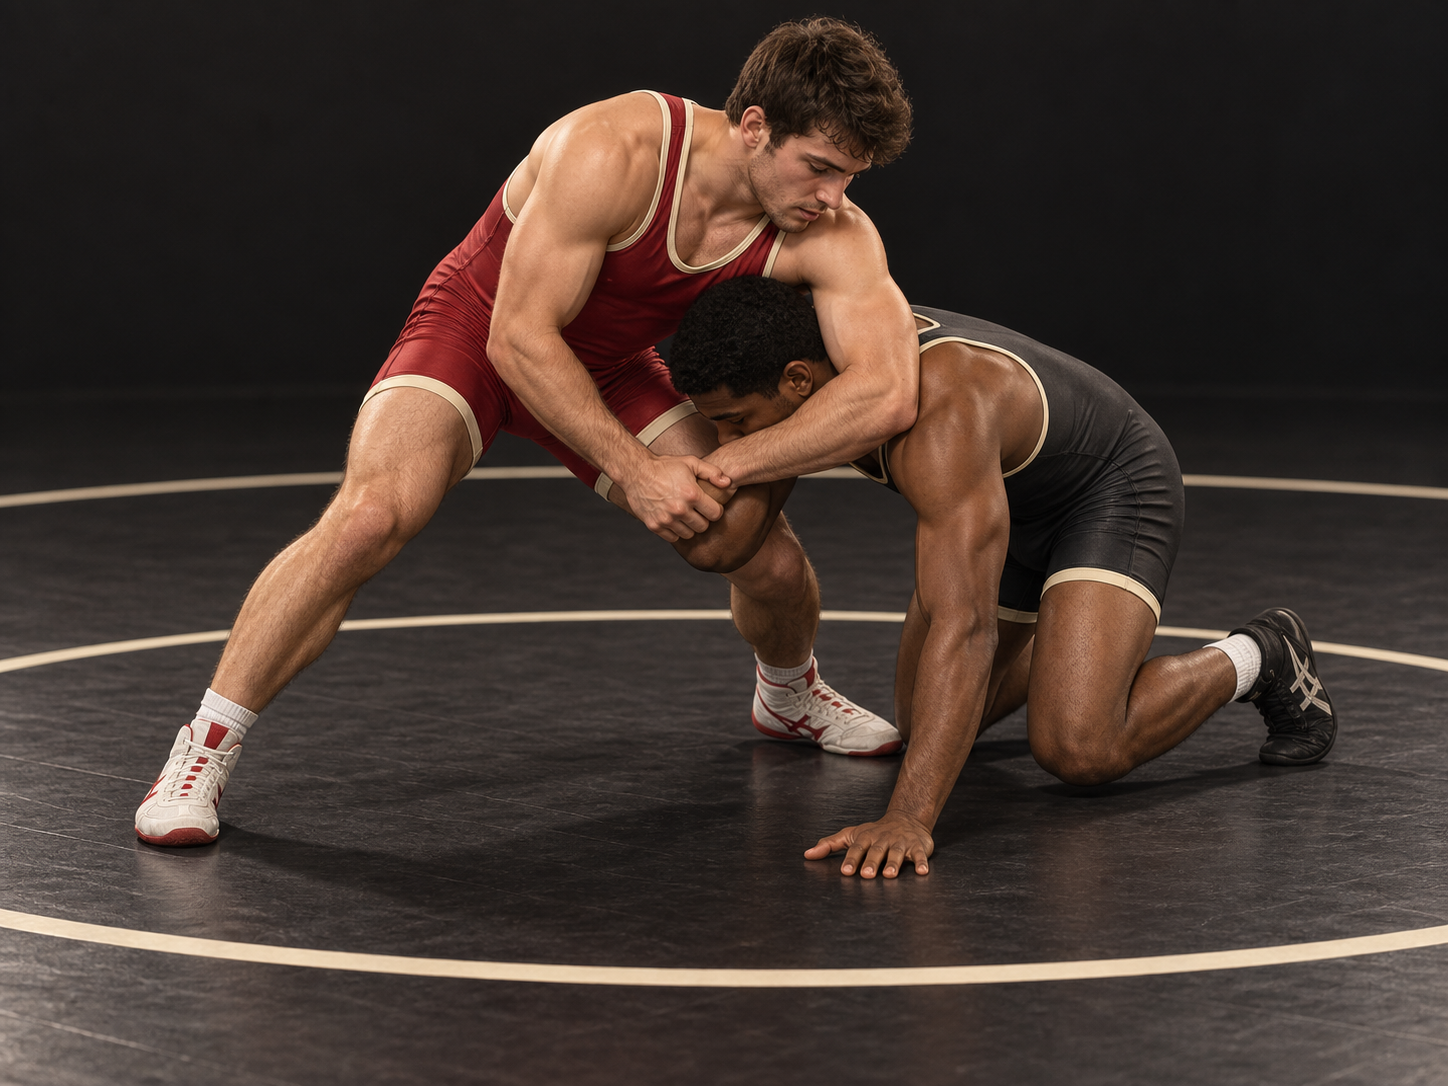
 ▶ Open demonstration

How to practice front headlock
Start with a cooperative partner on a wrestling mat. Have a coach check the starting position and contact before adding resistance. These notes describe one introductory approach; the linked demonstration may show a variation.
Partner role
The partner maintains their own stable base and allows the attacker to practice moving to an angle. Keep the hold light, communicate about neck comfort, and reset before either athlete begins pulling forcefully.
- 1
Enter only after the opponent’s level drops or their shot is stopped. Keep your feet underneath you and connect to the head and near arm as your coach demonstrates.
- 2
Keep pressure supported by your torso and base. Do not squeeze the throat or use the hold as a submission; the objective is positional control.
- 3
Guide the near arm while moving your feet to one side. Keep the partner from freely squaring up, but avoid hanging all your weight from their neck.
- 4
Clear the near hip and finish behind, or release back to stance when the position becomes uncomfortable or the connection is lost.
Common mistakes and corrections
Holding the position without moving gives the defender time to rebuild. Use the connection to create an angle.
Pulling upward on the head can strain the neck. Keep the movement controlled and directed through the upper body.
Take it to the mat
A focused practice drill
Alternate five front-control-to-go-behind repetitions each side. Begin from a light stationary position and stop if either athlete feels neck pressure.
Before adding resistance
Can you maintain a light connection while your feet create the finishing angle?
WOTM teaching notes and sequence diagram. Lesson artwork is AI-generated with OpenAI’s built-in image generation tool; it is an illustrative cover rather than a technical diagram. Demonstration links lead to their original publishers. WOTM is not affiliated with or endorsed by USA Wrestling.