 ▶ Open demonstration

How to practice snap & spin
Start with a cooperative partner on a wrestling mat. Have a coach check the starting position and contact before adding resistance. These notes describe one introductory approach; the linked demonstration may show a variation.
Partner role
The partner responds to the controlled snap with a light post or level change. Avoid collapsing suddenly or resisting with a stiff neck; let the attacker find the angle.
- 1
Make a controlled head-and-arm connection from stance. Keep your feet moving so the tie is supported by your body rather than by your arms alone.
- 2
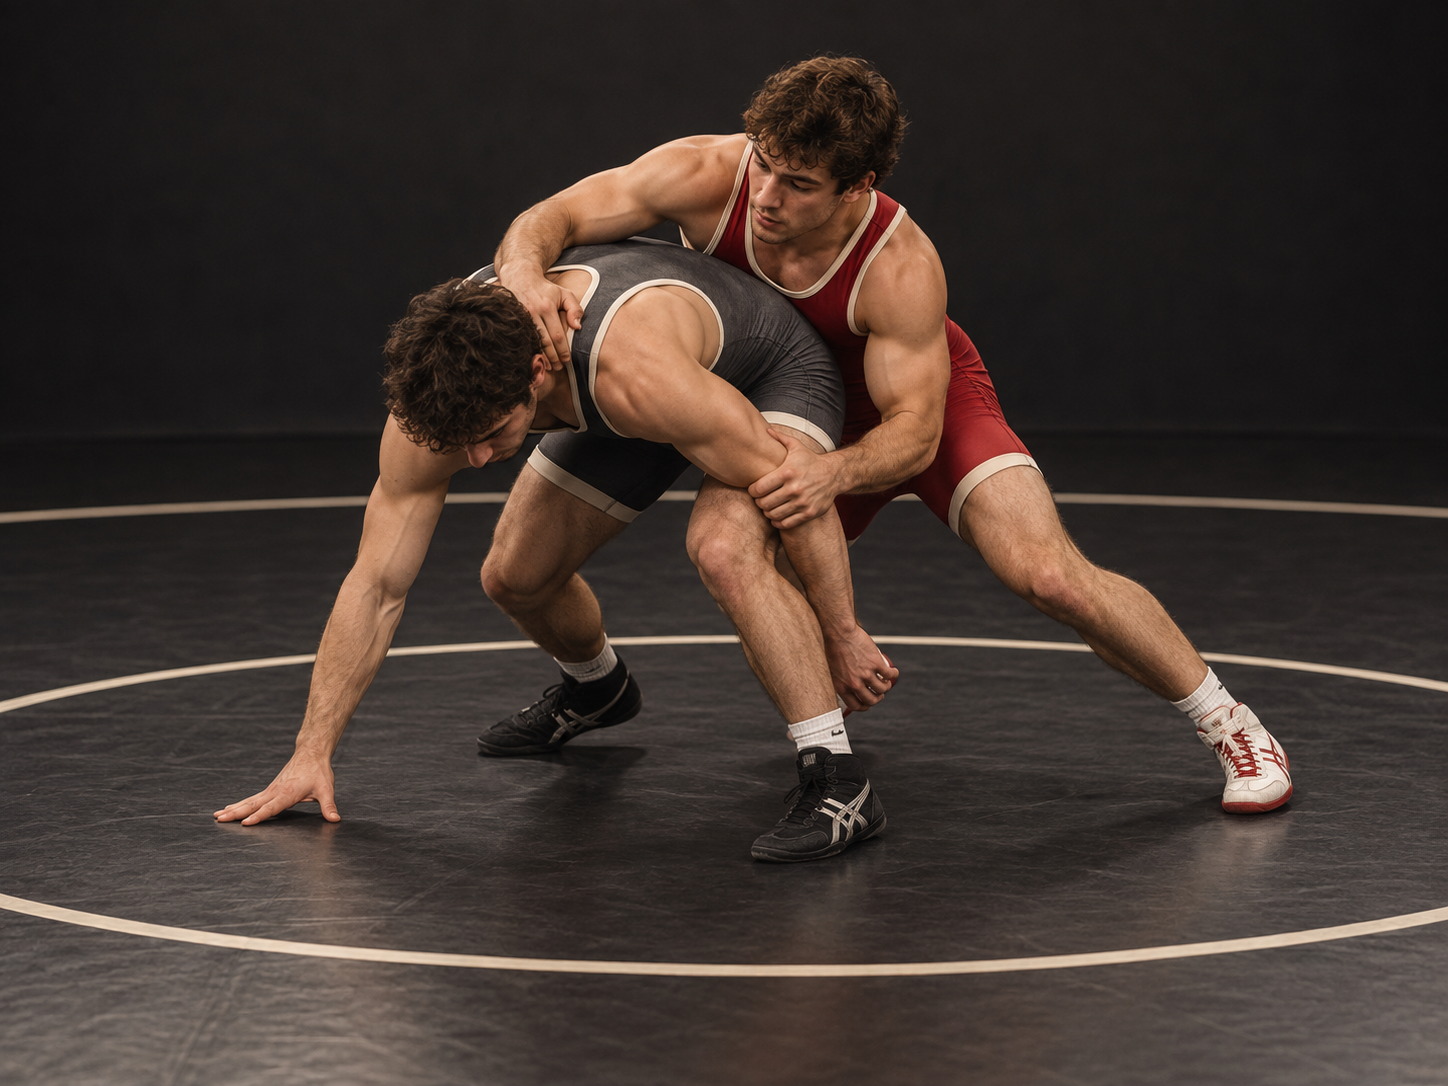
Step back as you guide the upper body forward and down. Apply pressure through a legal tie with the neck aligned; this is a positional snap, not a violent jerk.
- 3
When your partner posts or lowers their level, maintain contact with the near arm. Move your feet in an arc around the outside instead of jumping directly over the shoulders.
- 4
Pass the near hip and establish control from behind. If the partner squares up before you clear the corner, return to stance or rebuild the tie.
Common mistakes and corrections
Spinning before creating a reaction leaves the partner free to follow. Make the post or level change happen first.
Reaching for the waist too early can surrender the angle. Keep the near arm controlled until your feet clear the corner.
Take it to the mat
A focused practice drill
Use three sets of five snap-to-angle repetitions. The partner cooperates with a light post; finish by touching the rear hip before adding full control.
Before adding resistance
Can you create the angle with footwork while keeping the partner’s neck comfortable?
WOTM teaching notes and sequence diagram. Lesson artwork is AI-generated with OpenAI’s built-in image generation tool; it is an illustrative cover rather than a technical diagram. Demonstration links lead to their original publishers. WOTM is not affiliated with or endorsed by USA Wrestling.