 ▶ Open demonstration

How to practice half nelson
Start with a cooperative partner on a wrestling mat. Have a coach check the starting position and contact before adding resistance. These notes describe one introductory approach; the linked demonstration may show a variation.
Partner role
The partner allows a gradual shoulder turn while keeping the neck comfortable. Do not lock the arm rigidly to resist the learning repetition; ask for an immediate reset if the range becomes uncomfortable.
- 1
Start with the opponent controlled on the mat and your own base beside the torso. Do not try to force the move through a tightly closed elbow.
- 2
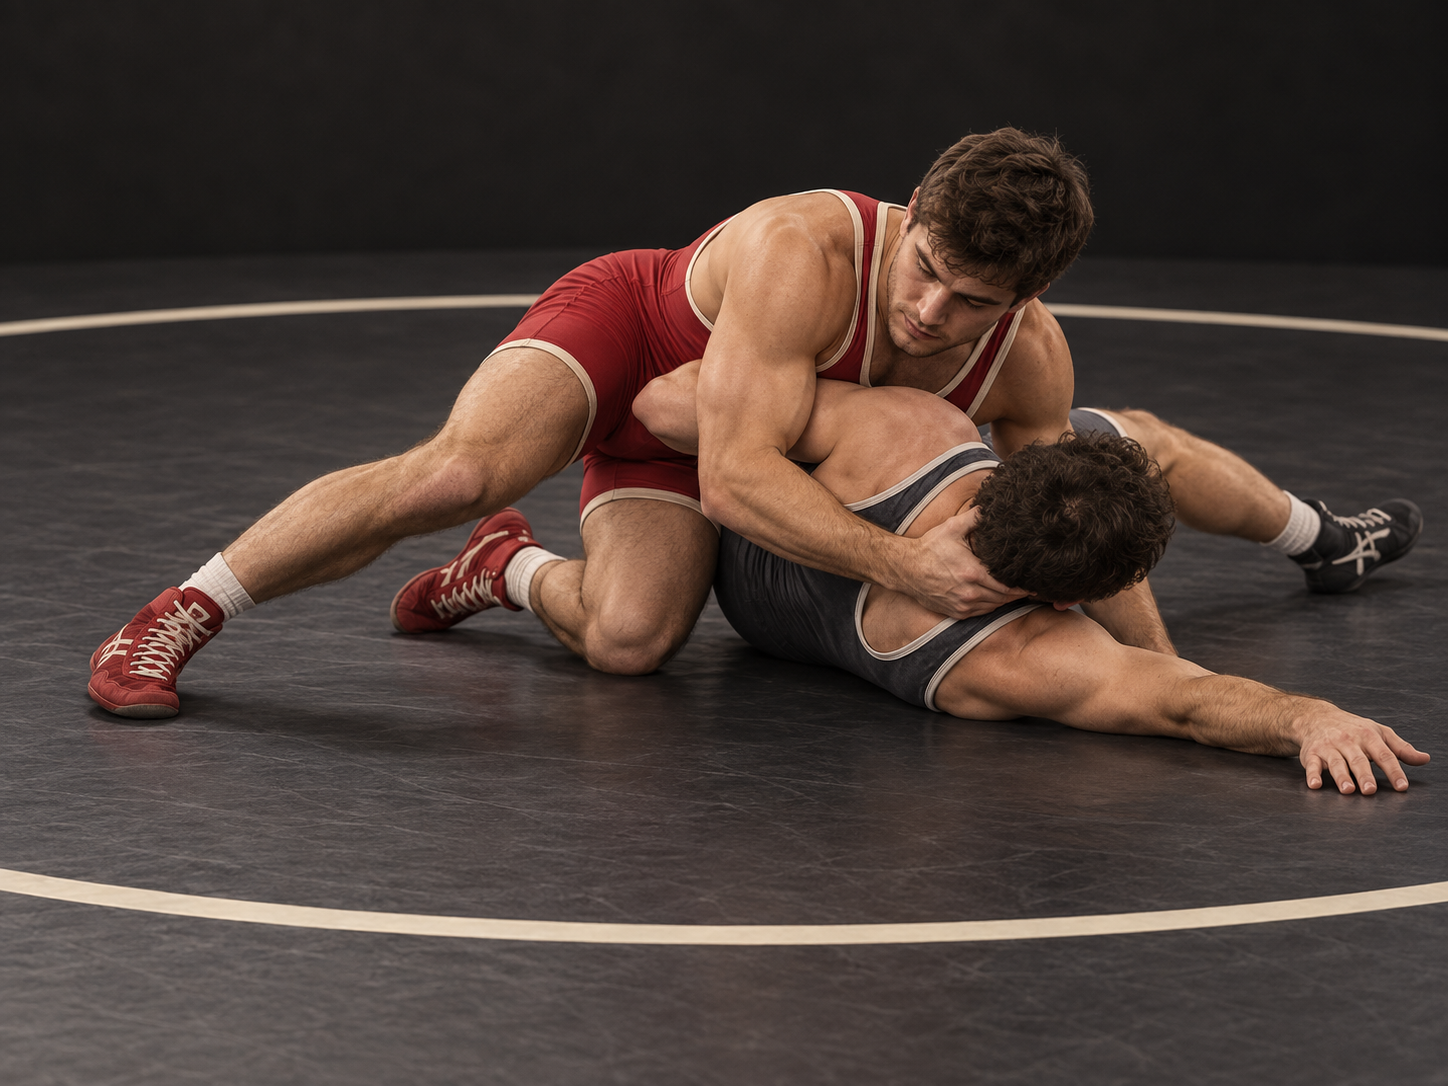
Thread one arm under the near arm and place the hand behind the head in the position your coach teaches. Keep the pressure controlled and the neck aligned with the turning torso.
- 3
Move your feet around toward the head while maintaining chest contact. Use the angle to bring the shoulder line over rather than cranking down on the neck.
- 4
Settle into balanced chest-to-chest control when the partner turns. Release or adjust if the shoulder or neck reaches an uncomfortable range; never force the turn through pain.
Common mistakes and corrections
Pushing only on the head puts pressure in the wrong place. Turn the body with footwork and chest connection.
Standing too far away allows the partner to recover their elbow. Stay connected without collapsing your own base.
Take it to the mat
A focused practice drill
Practice five cooperative entries and partial turns per side under a coach. Add the full finish only when the partner can turn smoothly and comfortably.
Before adding resistance
Can you turn the shoulder line through an angle without forcing the neck?
WOTM teaching notes and sequence diagram. Lesson artwork is AI-generated with OpenAI’s built-in image generation tool; it is an illustrative cover rather than a technical diagram. Demonstration links lead to their original publishers. WOTM is not affiliated with or endorsed by USA Wrestling.