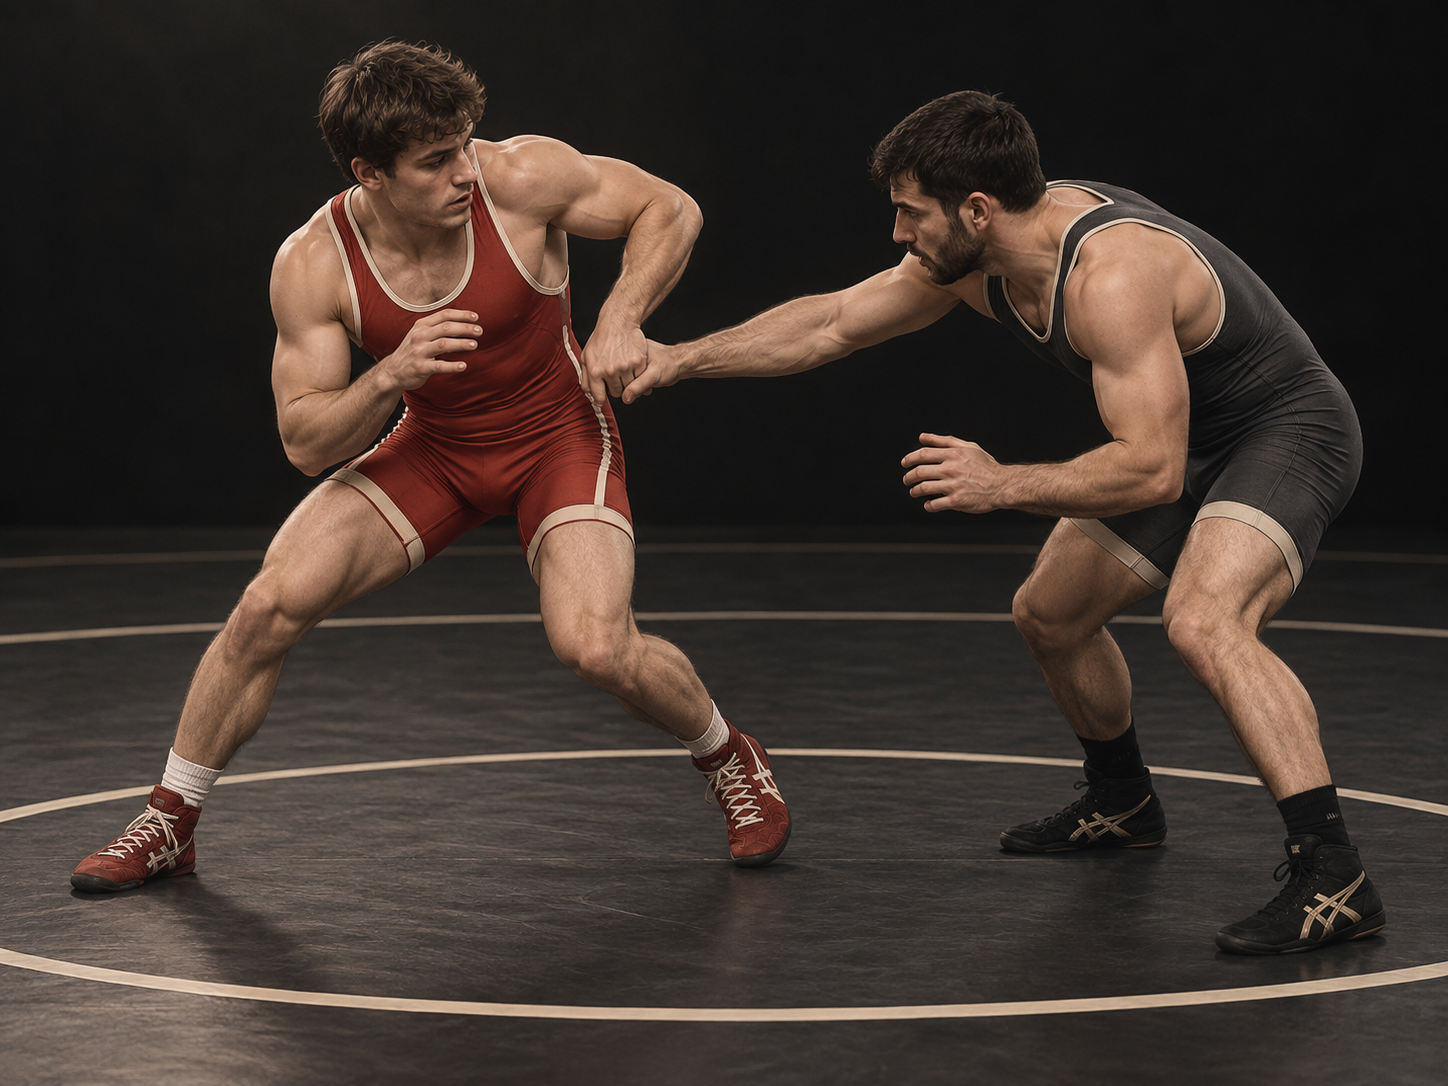
 ▶ Open related demonstration

How to practice clearing ties
Start with a cooperative partner on a wrestling mat. Have a coach check the starting position and contact before adding resistance. These notes describe one introductory approach; the linked demonstration may show a variation.
Partner role
The partner gives a moderate, consistent grip and allows the athlete to find the opening. Increase grip resistance gradually, without clamping individual fingers or changing the tie unexpectedly in the first round.
- 1
Identify the tie rather than pulling at random. For a wrist tie, find the opening near the partner’s thumb; for an upper-body tie, locate the elbow that controls your posture.
- 2
Bring your arm or elbow close to your own body. Step to an angle so the connection has less leverage and you are not fighting it with an extended arm.
- 3
Clear the grip through the opening with a compact movement. Keep the other hand ready and avoid twisting individual fingers or wrenching the partner’s shoulder.
- 4
Recover your stance immediately, then establish your own wrist or inside tie. A successful clear should leave you ready to wrestle rather than standing upright at a distance.
Common mistakes and corrections
Yanking straight back often strengthens the grip. Change the angle before the release.
Dropping both hands to one tie invites a new attack. Keep a defensive hand available.
Take it to the mat
A focused practice drill
Trade five wrist-tie clears and five coach-selected collar-tie clears per side. Finish every repetition with two steps of controlled motion.
Before adding resistance
Can you clear the tie and stay in position for the next exchange?
WOTM teaching notes and sequence diagram. Lesson artwork is AI-generated with OpenAI’s built-in image generation tool; it is an illustrative cover rather than a technical diagram. Demonstration links lead to their original publishers. WOTM is not affiliated with or endorsed by USA Wrestling.