 ▶ Open related demonstration

How to practice hip heist
Start with a cooperative partner on a wrestling mat. Have a coach check the starting position and contact before adding resistance. These notes describe one introductory approach; the linked demonstration may show a variation.
Partner role
Begin without a partner. A coach or teammate can watch the supporting hand and shoulder, then give one observation about whether the hips turn smoothly without leaving the arm trapped behind the body.
- 1
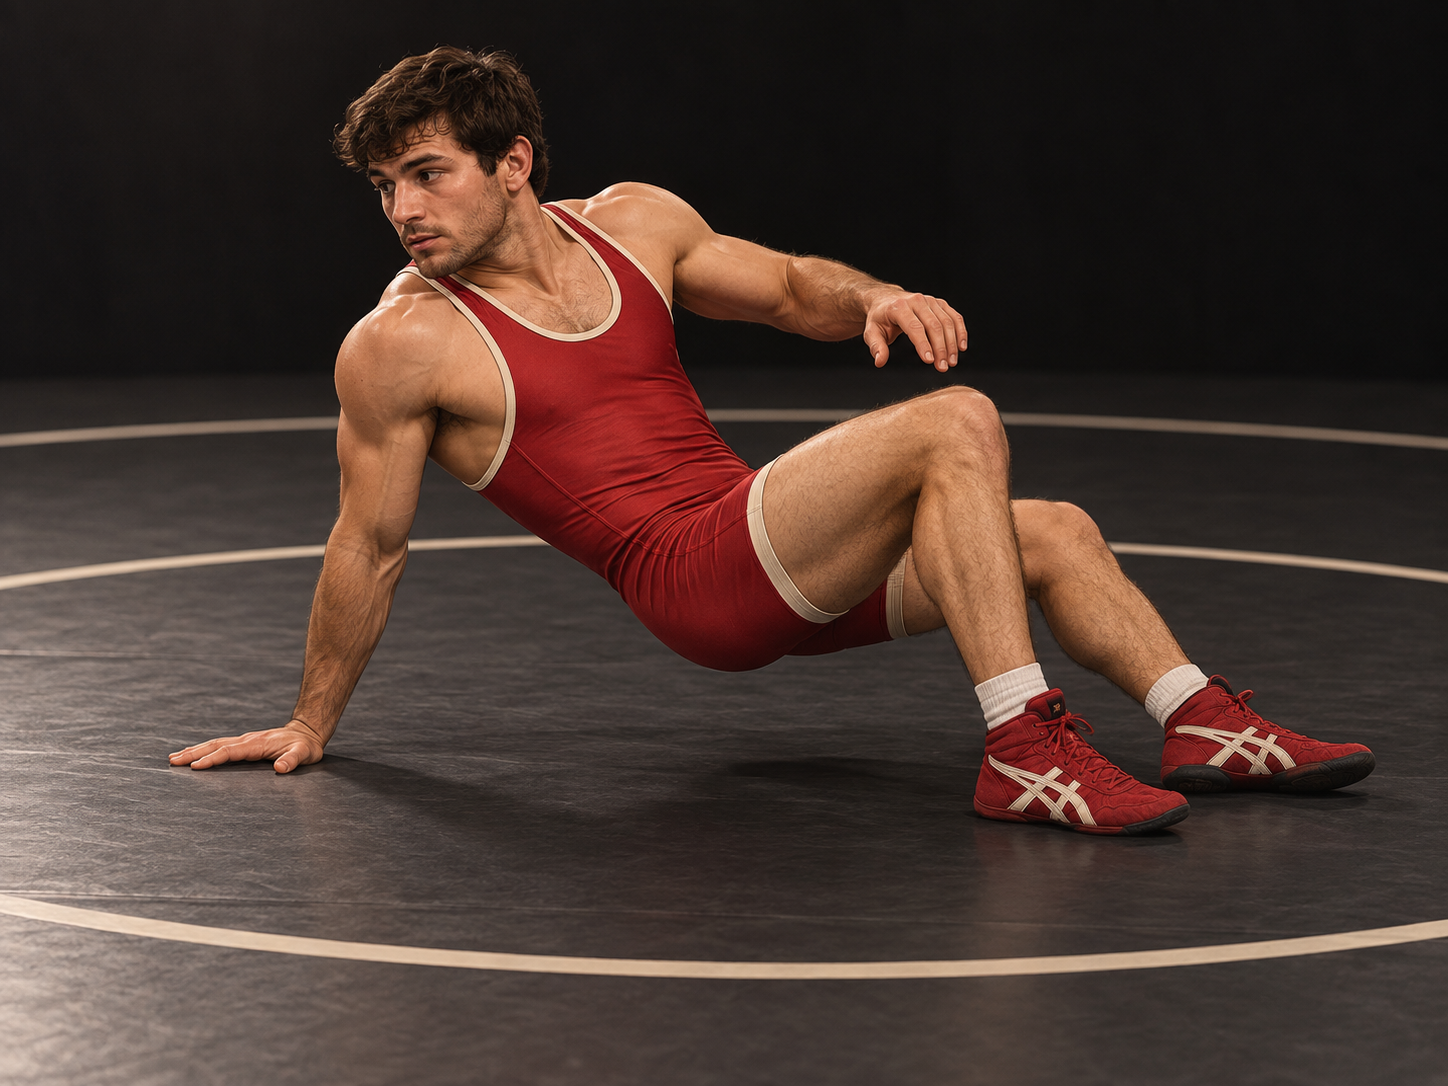
Start seated with one hand posted near the hip, knees bent, and feet close enough to support your weight. Keep the supporting shoulder comfortable rather than reaching the hand far behind you.
- 2
Push through the feet and support hand just enough to lift the hips clear of the mat. Keep the movement low; height is not the goal.
- 3
Bring the hips through and turn your chest toward the opposite direction, moving your feet as the hips rotate. Place the free hand only when needed to rebuild a balanced base.
- 4
Finish facing the new direction and recover to stance or a base. Practice solo before connecting the movement to a switch or short-sit escape.
Common mistakes and corrections
Leaving the hand far behind can trap the shoulder. Reposition the support closer before turning.
Trying to swing the hips high makes the drill unstable. Keep the hips close to the mat and turn smoothly.
Take it to the mat
A focused practice drill
Perform two sets of five slow solo repetitions each direction. Pause in the finish to confirm that the wrists and shoulders feel comfortable.
Before adding resistance
Can you change your hip direction without collapsing onto the supporting shoulder?
WOTM teaching notes and sequence diagram. Lesson artwork is AI-generated with OpenAI’s built-in image generation tool; it is an illustrative cover rather than a technical diagram. Demonstration links lead to their original publishers. WOTM is not affiliated with or endorsed by USA Wrestling.